By Nancy Pollard
After owning one of the best cooking stores in the US for 47 years—La Cuisine: The Cook’s Resource in Alexandria, Virginia—Nancy Pollard writes Kitchen Detail, a blog about food in all its aspects—recipes, film, books, travel, superior sources, and food-related issues.
 AS AN AVID egg white hoarder, I am always looking for ways to not throw them down the kitchen drain. Clarifying stock with them is fun and satisfying, especially when you look and taste the before and after stock.

Ottolenghi raspberry meringues. / From Ottolenghi.
But that is sort of a wintry pastime.
Making friands and financiers (loosely, almond cakes) is another amusing diversion. And I especially love the friand molds from Gobel and Matfer we used to sell in the shop. You can use any mold for these delicious little cakes made with almond powder and egg whites. But meringues, they just scream summer to me. I will never forget the first time I saw trays of wonderfully free-form and shaggy meringues with pistachios, or melted chocolate and even strawberry or raspberry sauce in the windows of Ottolenghi in London.
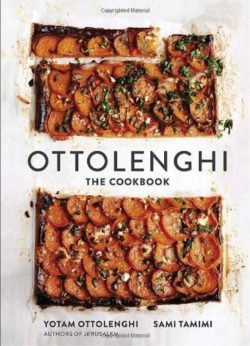
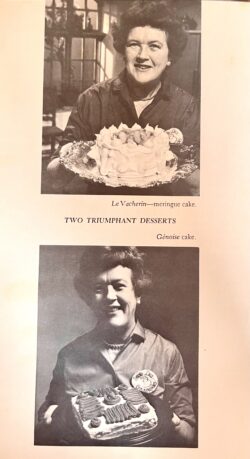
I am sure you know the basics of making meringue: egg whites and a lot of sugar. But Yotam Ottolenghi’s technique, which is in his first book, calls for first toasting the sugar, an unexpected step that somewhat precooks the meringue. I have happily played with this recipe. If you want a complete discussion on the merits of toasting sugar, look no further than this quasi dissertation by Stella Parks on Serious Eats. I also on rare occasions have made the large Vacherin from Julia Child’s little red book, a creation that is also called Spanische Windtorte. This confection requires two types of meringue and double-baking the combination. Then you fill it with whipped cream and a seasonal fruit of your choice. You also get the dubious honor of decorating it with royal icing or more meringue. My husband loved it and waxes rhapsodic about it to this day. Me not so much.
Goldilocks and Meringues
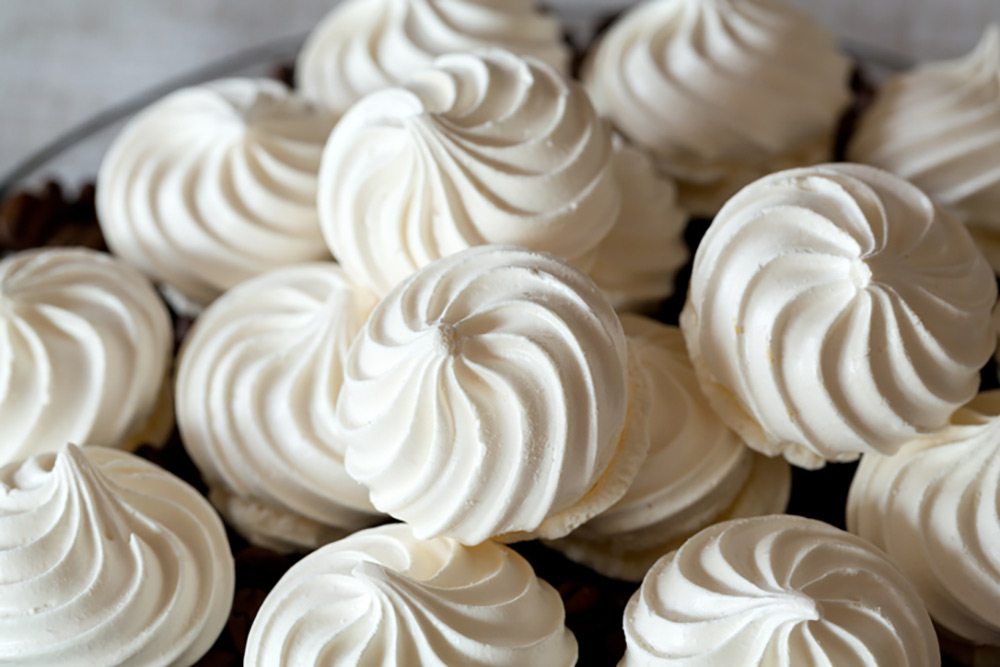
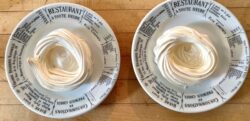 I have been much happier experimenting with making individual meringue shells that I can fill with mousse or just whipped cream and seasonal fruit or a scoop of ice cream with chocolate sauce. And I have learned a few things.
The whole process relies on ratios, a few techniques, and knowing what type of meringue you want. Most meringues are crisp all the way through, but I want a pale meringue with a lightly crisp exterior and a soft marshmallow interior. Or as Goldilocks would say . . . Just Right.
Weigh your egg whites, which should not have any trace of yolk. And bowls, whisks, scrapers need to be scrupulously grease-free. Don’t add a pinch of salt, as you’re sometimes told to do, as it pulls the water out of the egg whites (whites are 90% water and 10% proteins and minerals). This is why you see a watery residue sometimes at the bottom of a bowl of meringue.
You will use double the weight of sugar to egg whites. So if you have 100 grams of whites, you will use 200 grams of sugar. A couple of French chefs use half caster or superfine sugar and half powdered sugar, which I think gives a nicer interior texture to meringue shells. So in the case of 100 grams of egg whites, you will weigh out 100 grams of superfine sugar and 100 grams of powdered sugar. Always sift the powdered sugar—I now copy the idea of sifting the powdered sugar through a mesh strainer onto a sheet of parchment paper. I found that it is easier to control the flow of the powdered sugar from folded parchment (it’s sort of a funnel) than from a bowl.
Start out adding the superfine or caster sugar first gradually. You can then add in the powdered sugar faster at the end. It makes for a silkier meringue. At this point, you can add vanilla or another flavoring essence. Keep beating (and the greater volume of egg whites and sugar you have, the longer this process takes) until you get a stiff peak on your whisk.
We Can Have Nice Things
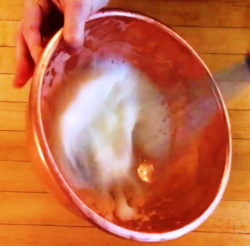
A copper bowl or insert (Sertodo Copper makes a gorgeous one) will give you a creamy stable meringue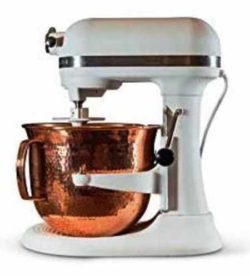 result. Adding cream of tartar (1/8 teaspoon per egg white) will also help the stability of the meringue if you use a stainless steel or glass bowl. Use a whisk with a large circumference at the widest point of the wires (14 inches or a bit more is ideal). You will achieve a meringue much faster.
Silpats work really well instead of parchment paper for baking. And I much prefer to use a 20-inch pastry bag with large fluted tip for creating the shells. It takes a little practice, but you can always scoop up your failures and redo them. You can also use two large spoons and create a well. I always make a few small cookie-sized swirls as taste tests for proper interior texture. I use the German Wunderbags, which are imported by Ateco: they are polyurethane-coated cotton and are reinforced at the tip end and hemmed at the wider opening. They never leak and last for years. I also prefer the the stainless steel tips from Ateco as I find that their quality is superior to those from Wilton.
Here’s the tricky part: I have never been able to control the heat of my oven so that the temperature is just under 200F or 90C, which is the perfect temperature for baking and drying meringues. This is where my Thermapen (or you can get their oven thermometer) comes in handy. I now preheat the oven at 250F and then turn it off a minute or two after I put in the meringues. Then I set the timer for 40 minutes and check to see how they are drying/baking. So all the suggested baking times and temperatures never worked for me. I ended up with deep beige-ish meringues with some caramelized weeping. In my oven, the meringues are crisp on the outside and marshmallowy on the inside in under an hour. I keep them under a glass dome at room temperature, and they are good for three days. They rarely hang around that long.

