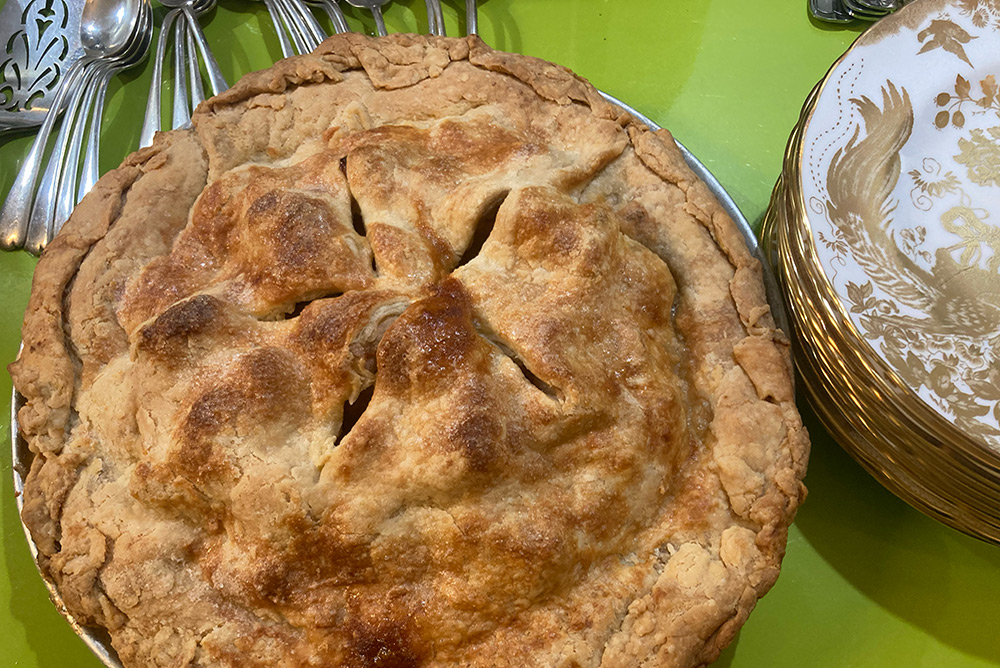
When my pie comes out great, it’s thanks to Chef Jim Dodge’s careful instructions. My version here shows that I pay more attention to the top than to the edges, which can be a bit raggedy. / MyLittleBird photo.
By Nancy McKeon
NOT BEING a numbers person, I have no particular connection to Pi Day, the annual celebration of the mathematical constant π, or pi, March 14, or 3.14.*
I do, however, have a connection to pie, Jim Dodge’s Harvest Apple Pie in particular, which I’ve been making since he was at the New England Culinary Institute and we published his recipe in the Washington Post Food section. It always tastes great, and it often looks great as well (it’s my fault when it doesn’t, not his).
In his original recipe, Dodge, who was a hotel guy turned chef guy (his family opened its first hotel in New Hampshire in 1794!), called for some interesting steps, all of which make sense when you think about them. Unlike cookie-dough recipes, which call for softened butter, most pie-crust recipes call for cold butter. Dodge goes one better: He has you cut the butter up into small pieces and then freeze them for a while before proceeding. And the flour? He has you freeze that too. I work and stretch the hard, cold butter into the cold flour with my fingers until there are only flakes of butter, dusted with the flour, to be felt.
Dough likes to be cold! And when the pockets of cold fat in the pie-crust dough hit the hot oven, boom! The collision of hot and cold makes for a crust that will separate into the most delicate layers, rising high above the apples.
And yes, the apples. In the recipe as it appears on Dodge’s website, he calls for early-crop apples; I’ve used all types. But the secret of this pie is in the slicing. Rather than slim wedges, each apple gets cut into wedges and then cut crosswise to make stubby chunks of apple. Piled high in the center of the bottom crust, with the top crust lightly draped over them, the apple pieces give the pie height and heft.
Enough. Here are the recipes for the pie crust and the apple filling, as they appear on Dodge’s website, chefjimdodge.com. Don’t be intimidated by the length of the recipes: Dodge is simply laying things out very precisely.
Flaky Pie Pastry
Ingredients
- 1 cup plus 2 tablespoons unbleached all-purpose flour, plus more for dusting
- ½ teaspoon sugar
- 1/8 teaspoon coarse salt
- ½ cup (1 stick) unsalted European-style butter, or ¼ cup (½ stick) butter and ¼ cup lard or shortening, cold
- 3 tablespoons cold water
Instructions
- Place the flour, sugar and salt in a large bowl and blend with your fingertips. Cut the butter into thin ½-inch chips and add to the bowl. Toss the mixture with your hands until each chip is coated with flour.
- Turn onto a broad work surface. Roll out until the butter chips have turned into long flakes; use a flexible scraper to gently remove pieces that stick to the pin or board and coat them with flour.
- Return the mixture to the bowl. Sprinkle it with water and blend with a large rubber spatula or kitchen spoon until the water has been absorbed, about 15 strokes. Dust the top lightly with flour, then press the mixture down into the bowl—4 or 5 gentle pushes will press everything together.
- Sprinkle the work surface with flour and turn the dough out onto it. Dust the rolling pin generously with flour. Dust the dough with flour and roll it into a rectangle about ¼ inch thick. The dough will be loose, but fold the long edges over to meet in the center. Give the package a turn so the long way runs side to side. Roll out, fold and turn as before until the dough begins to hold together, usually 2 more times.
- Fold over the corners and press into a 6-inch round. The dough can be rolled out at once or wrapped and refrigerated. If chilled, let it rest at room temperature until soft enough to roll.
- Place the round on your lightly floured work surface and dust the top with flour. Roll out into a 13-inch circle. Brush off any flour and roll the circle up loosely on the pin a little more than halfway, brushing off flour underneath. Slide the pie dish underneath it and unroll the pin over it, centering the circle.
- Gently push the dough down into the corners at the bottom of the dish, then firmly up against the sides without stretching the dough (this is important).
- Make the border fairly even all around (it doesn’t have to be perfect) by trimming any excess with scissors and using these scraps to patch any skimpy places (drops of cold water will seal the seams). Tuck the border under itself to make the edge even with the rim.
- Finish the border by fluting (poke the tip of a finger into the dough on one side and pinch it on the other side, making a V; repeat right next to the V and so forth around the border) or impressing an edging with the tines of a fork.
- Chill for 20 to 30 minutes.
- For crisp pastry under custard pies, the shell must be fully baked before filling. Heat the oven to 400 degrees.
- To keep the dough from shrinking and puffing as it bakes, it must be held in place for the first 2/3 of baking. Cut 2 sheets of foil or parchment paper about 15 inches long. Lay them in the dish at right angles. Fill the shell to the rim with metal pie weights, dried beans, rice or a combination–you’ll need at least 5 cups (7 is ideal). As you pour in the weights, press them firmly down into the corners at the bottom of the dish and up against the sides; also fill every V of fluting. Bake in the center of the oven for 20 minutes, then carefully lift out the foil or paper and weights (save them for next time). Continue baking, checking after 3 to 4 minutes to make sure the pastry isn’t puffing up. If it is, prick the bubbles with a fork. Continue baking, checking again a few minutes later for puffing, until the pastry is golden all over, 10 to 15 minutes in all. Cool if not filling at once.
PastryHarvest Apple Pie
For the apple filling
- 6 large firm early-crop apples
- ½ cup sugar
- ¼ teaspoon ground allspice
- 1 teaspoon ground cinnamon
- 1 tablespoon tapioca flour or arrowroot
- 1 recipe Jim’s Flaky Pie Pastry (see above), chilled and ready to go
For glazing the top
- 1 large egg white, beaten in a small bowl just until smoothly broken up
- 1 teaspoon sugar
Preheat oven to 425 degrees F and set the rack on the lowest level.
Preparing the apples: Peel the apples and cut them in half. Use a melon baller to remove the cores. Cut each half into three wedges and then cut across the wedges, slicing each into thirds. Thoroughly blend the sugar, spices, and tapioca or arrowroot in the mixing bowl, and toss with the apples, coating them evenly. Press a piece of plastic wrap onto the apples to make an airtight covering, and set aside.
Lining the pie pan: Remove the dough from the refrigerator and massage through the plastic for several minutes, just until it is pliable enough to roll out. Divide it in half, and chill one half. Sprinkle your work surface and the top of the dough lightly with flour, and start rolling it into a circle that is to be 10 inches across and about 1/8 inch thick. Chef Jim says it is quite all right for you to roll the pin back and forth, as long as you do not roll over the edges. As you roll, lift and swish the dough on the counter to keep the bottom well-floured. Fold the circle in half and pick it up; brush off excess flour, and lay the dough in the pie pan with the fold at the center. Open the dough out to fill the pan, then lift the edges to coax it down into the pan, pressing it so that it lines the pan tightly.
In go the apples: Empty the apples into the crust using a rubber spatula to be sure that all the juices and seasonings go with them. Push them around so they are nicely arranged with a slight dome at the center. Brush the edges of the dough, where it rests on the edge of the pan, with the egg white. Roll the second piece of dough as the first; fold it and drape it over the apples; unfold and process the edges together to seal them, actually lifting the two pieces gently in your fingers to press them together, and at the same time folding them under to make a 1-inch lip all around. Then push the edges up to make an upstanding rim that does not overhang the sides; otherwise the crust will droop during baking. Crimp or flute the edges by pressing the index finger on one hand against the inside rim of the dough while pressing the dough lightly around that finger from the outside rim, using the thumb and index finger of your other hand. Continue around the dough at intervals of about 1 inch. Brush the center of the dough—but not the crimped edge—with more egg white, and sprinkle on the sugar. Note that the edge cooks first and fastest, and the egg white and sugar would cause too much browning.
Manufacturing note: Chef Jim prefers egg white to water for sealing the crusts together since water could produce steam, which would pry the edges apart.
Baking the pie: About 1 hour in all, starting at 450 degrees F. With a sharp knife, poke four neat holes for steam release in the top of the crust—not in the downward slopes where the juices could seep out. Bake in the lower level of the preheated oven for 10 minutes, then rotate the pie a half turn and reduce the heat to 375 degrees F. Continue baking 45 to 50 minutes more, until the top is golden brown.
When is it done? The apples should be tender when poked with a cake tester or small sharp knife through the steam holes in the crust. Any juices that bubble out should be slightly thickened and clear.
Remove the pie to a wire rack and let cool for an hour before cutting and serving.
*For those of us who snoozed through that class, π is the ratio of a circle’s circumference in relation to its diameter. It comes down to 3.14, and the decimal places go on forever. But this footnote won’t.
I’m known for my pie baking skills in my family, mostly due to my mother’s pie baking skills. But I’m always looking for new hints to improve, I will try this (maybe not today though )
If you have any skills at all, this will be a no-brainer for you. Some of us are, ahem, less talented. I’m known for my pie-baking skills in my family–mostly because no one else will even try!